Lab: Intro to Asynchronous Serial Communications
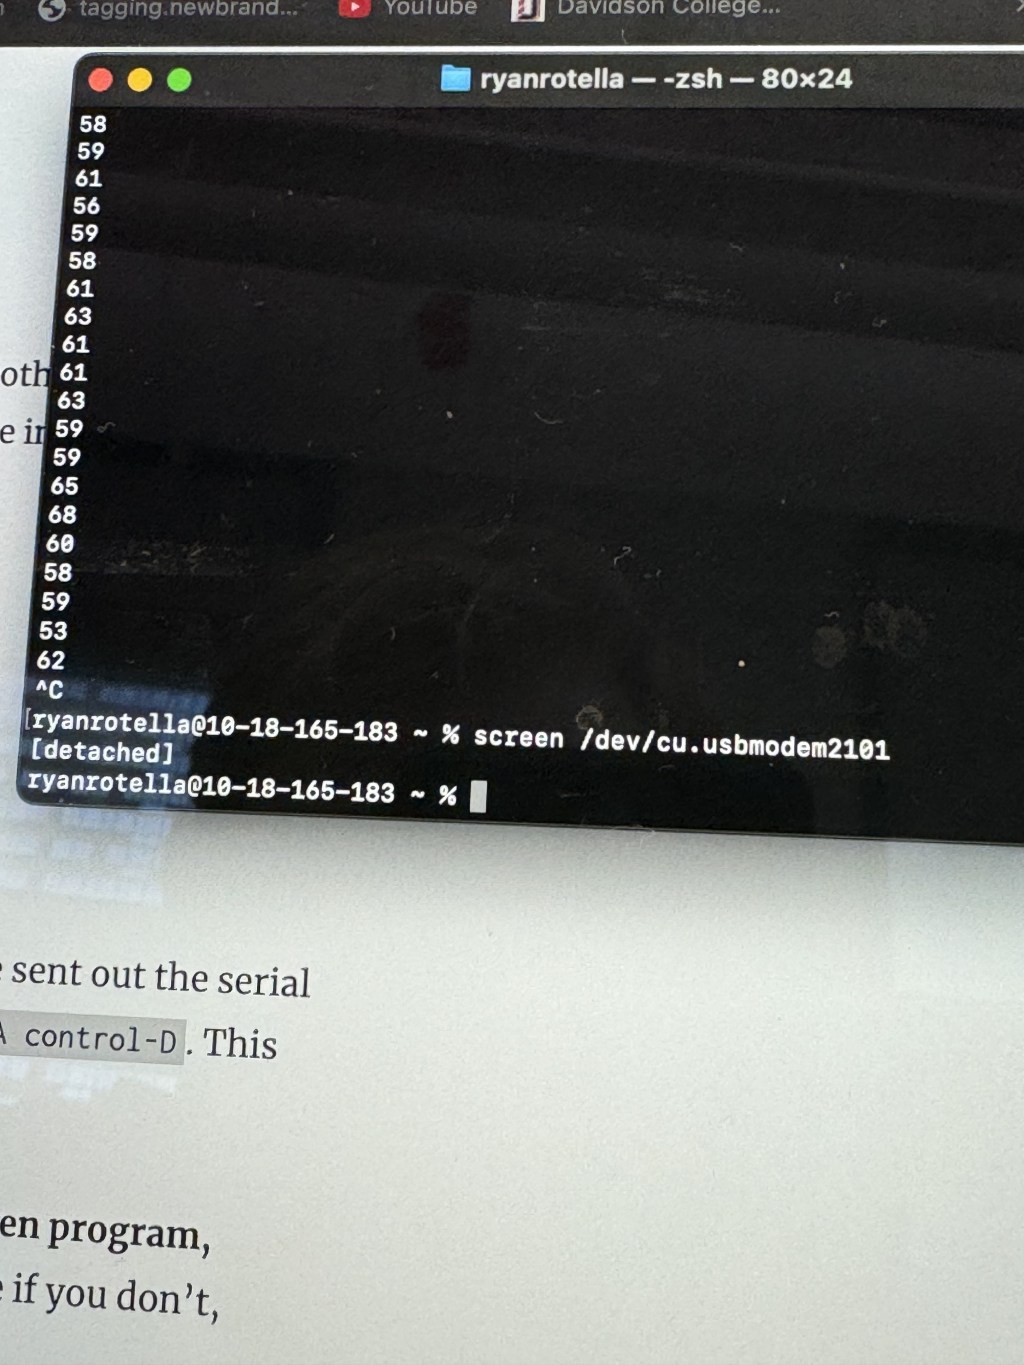
As a reprieve from our midterm work, I enjoyed digging deeper into how our computer and other computers can interact with microcontrollers. This part of the lab was a straightforward setup of how data gets communicated serially.
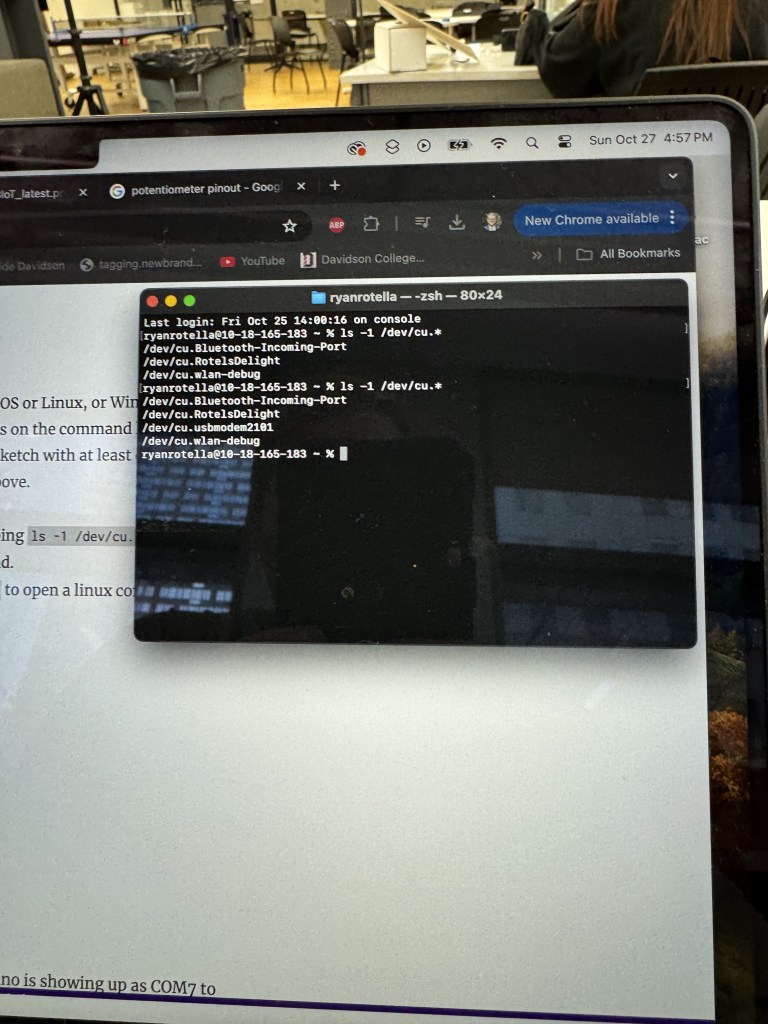
The initial view of the data was all cluttered, and I welcomed seeing more structure written out for seeing binary, ASCII, and hex code altogether (octal was a new one for me to see). Even better, the lab showed me how to use it in the terminal, which always makes me feel like a highly advanced programmer (even when I’m just using home-brew to install something).

I was curious on how best to tidy up data when it’s received serially. I liked the comma separation, but I wonder how complicated it is to add more strings for labeling? Or I suppose that might mess up the raw data, so I will trust the tab, return, and newline. The software CoolTerm also helps with the presentation a lot. It took a little while since my Mac would not open it at first. However, I eventually found the answer in a comment section from Roger Meier.
Also, I liked the bonus of sending data into a file directly from terminal. Based on my work in Software Testing, developers like writing software in that way for dataflow. Knowing how to do that little command means a lot of useful programs can be written for the upcoming projects in ITP.
I will also say this lab explained ASCII and /R, /N, /T better than the other times I’ve learned it in programming strings in Java. The lab written provided a thoughtful, historical explanation while other coding classes have explained “it’s just like that, memorize it.”
Lab: Serial Input to P5.js using WebSerial
Integrating between ITP core classes! P5.js x Arduino! It’s exciting that things are coming together and usable with each other. Obviously, the interplay is a core part of ITP, but we’re finally getting to it.
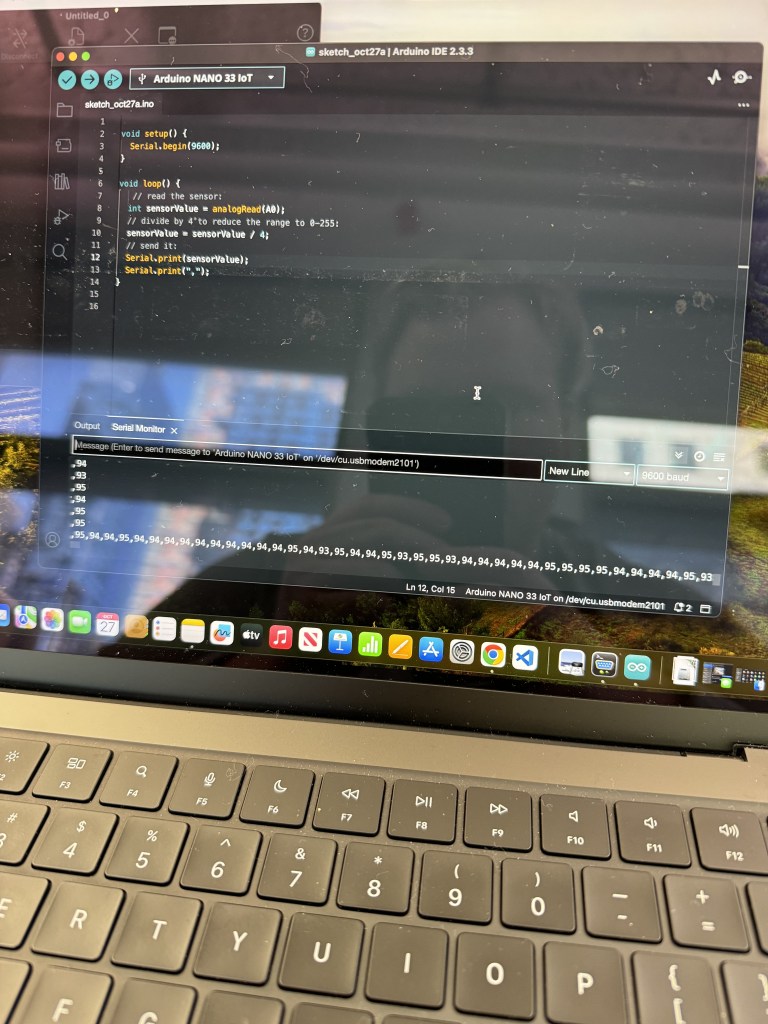
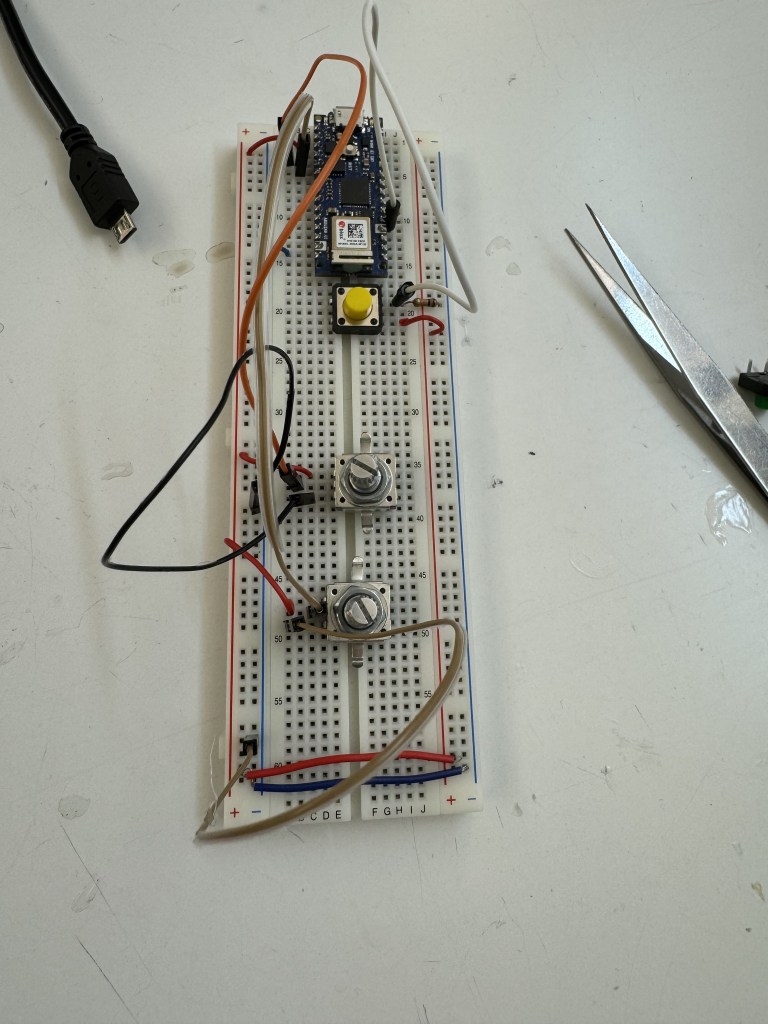
This lab had less hardware with just one potentiometer. As someone who’s used Bootstrap in websites and already playing with the DOM in P5.js, adding the script file and Serial functions to P5 was easy enough.
The reminder that only program can use the Serial port at a time was a helpful one. I had to toggle between checking on things in the Serial Monitor and checking on P5 in the browser. It was cool to experience the different iterations and ending up learning how to smooth out reading the input in Arduino and P5.
Lab: Serial Output From P5.js using WebSerial
This part of the lab was also great. I love that I know now how to build interactive experiences in P5 with tangible output. It’s a recurring theme in this week’s lab, but there are a lot more possibilities being opened with the integration of P5 and Arduino.
I did have some hiccups in this part of the lab. When instructed to code the keystrokes “H” and “L” in p5 and Arduino, inputting “H” did not turn the light on.
Then, I tried in the Serial Monitor and sending the letters there made it work. I eventually realized I had to click on the sketch in p5 and then type capital letters to function properly.
Similarly, I faced another stumbling block in typing a string and changing the light. Eventually, I realized parseInt() meant that I had to give the program numbers instead of non-numbers for the light to change brightness. Always read the labs thoroughly!
With the Serial Communication tools now in my belt, I will now start brainstorming on the final project for Physical Computing and how I can incorporate software into whatever physical experience I design.

Leave a comment