This is more of an informal timeline of what Surya and I worked on this past week.
Saturday, 2/8/2025
Surya and I discussed what the fabrication of our project would entail. We designed roughly what the projector would look like so that we could list the components we needed and what needed the most immediate attention.
We identified the caustic lens (courtesy of Matt Ferraro by way of Jeff Feddersen and Jess Shen) as the most time-consuming part of our project. The caustic lens was also the biggest variable. Could we get reproduce this lens, or would we need to pivot if we tried and failed to actually produce an image on an acrylic lens? We needed to figure that question out first and foremost.
The Goal
Again, shoutout to Matt Ferraro, who responded to our email and provided us even more resources! More on that later.
Our goals after our Saturday work session:
- Buy a flashlight
- I did this right after our session at the nearby Ace Hardware
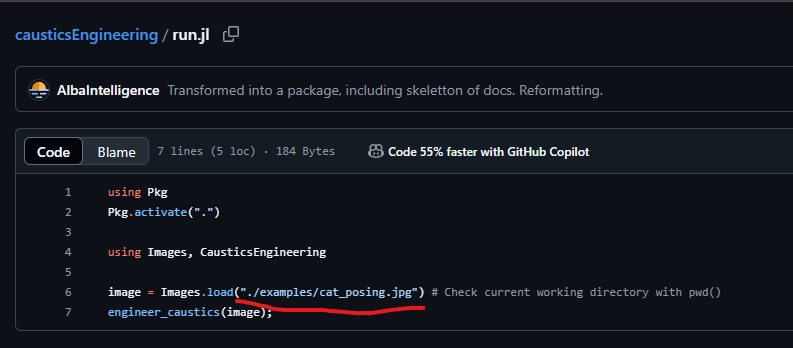
- Read up on Matt Ferraro’s code for how to CNC cut an image in to acrylic and make the first iteration of it
- build a rough base on cardboard/MDF and build out the idea Minimum Viable Product in a working stage
Sunday, 2/9/2025
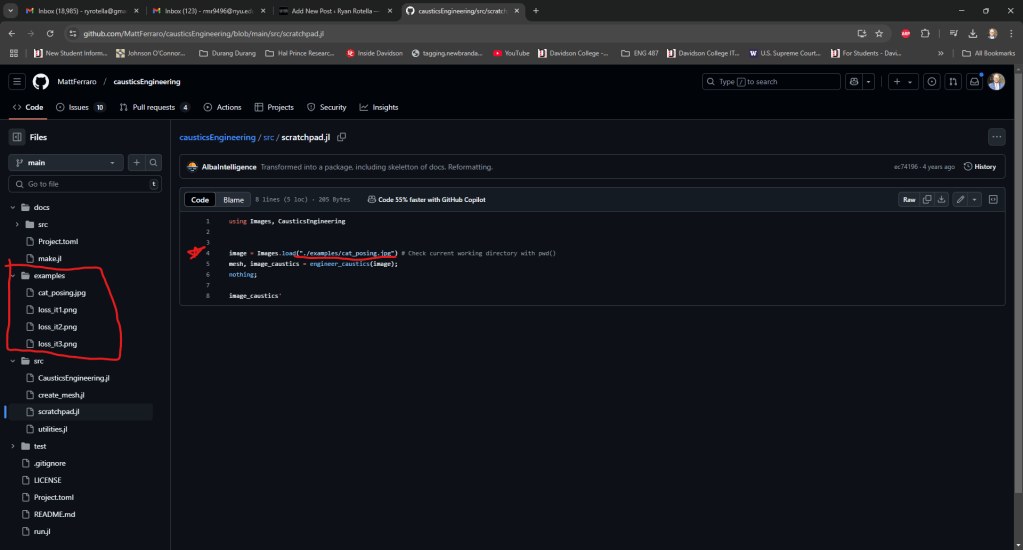
Surya and I met again. We tackled Matt’s code, and I copied his Github to my computer. His code ran in Julia, which I had to download on my machine. The only changes we had to make to his code were: clearing out the images in the Examples folder and replacing with our own image; and replacing references to that image file in the different code files.
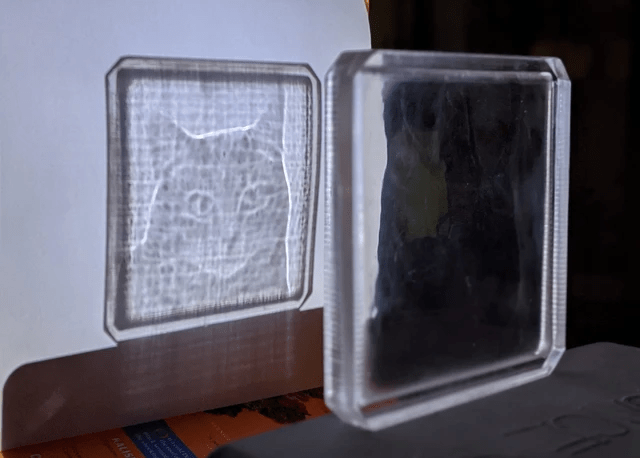
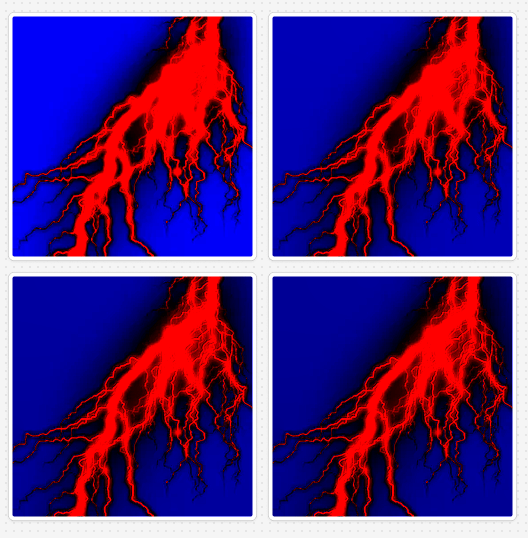
We chose this image of lightning below. We thought it was fitting to test our first Energy project prototype with an energy source harnessed to test the very first modern electrical experiments. Plus, it looks cool.

I hit run in the Julia terminal, and the code worked! The code produced 4 loss images and a .obj file for the lens.
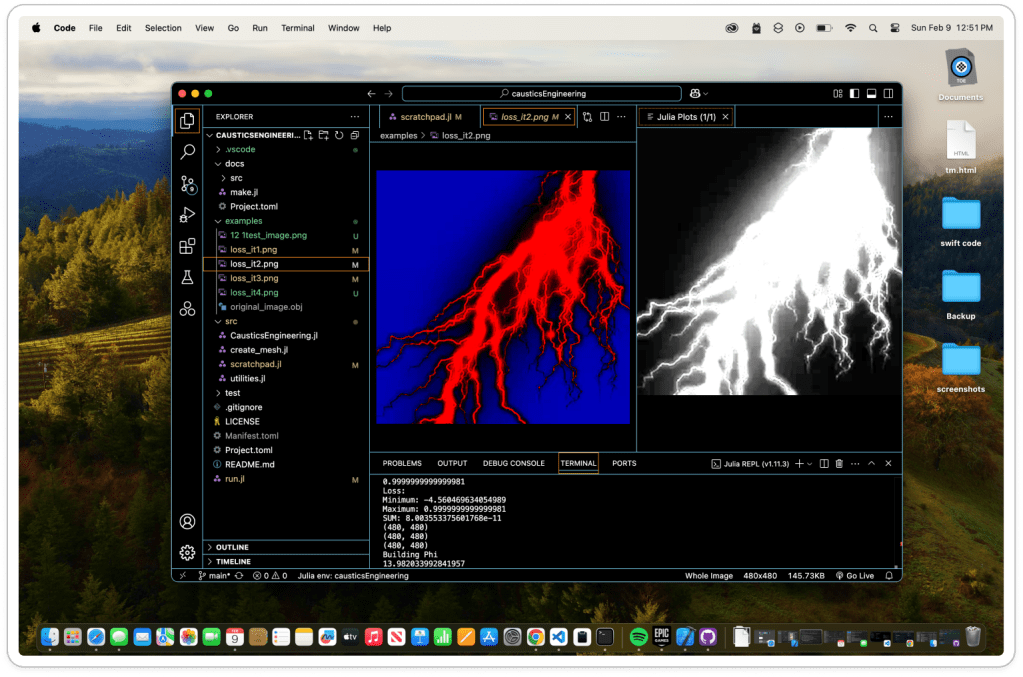
Neither Surya nor I could believe this worked as seamlessly as it did. However, we still had to bring the produced .obj file into Fusion (which neither of us ever used before) and figure out how to prepare it for our shop’s CNC machine. We needed the help of Phil Caridi and/or Ian Cox to guide us.
Also, we needed a hand crank. Surya found this great Instructables article that had a 3D model of a hand crank designed in Fusion and how to assemble it.
Our goals after our Sunday work session:
- Figure out the issues with Fusion
- print the hand crank generator and make it
- get Acrylic sheet (S) for printing for lens
Monday, 2/10/2025
Monday morning, I went to the Canal Plastics Center on Canal St. (conveniently located next to the R train stop). I purchased 3 squares of Acrylic to give us 3 attempts at a good lens. Then, I brought it to the floor.
I met Surya, and together, we met Phil. Thank you so much to Phil who gave us a crash course on CNC machining in an hour without much heads up. Phil sat us down, walked us through fusion on how to set up for the ITP machines, and figured out together with us if our goal was achievable. He said it was achievable, but that it’d be very time-consuming and a sort of toss-up on working well or not.
Despite our lens dream having a 50/50 shot of working, Phil helped us set up the toolpaths and made sure our Z-axis height of the acrylic was good for the machine. He also designed two cutting jobs from the CNC machine: a general pass with a big carbide bit and a more detailed cut with a smaller carbide bit. We still needed to ensure the measurements of the model in fusion matched our acrylic exactly.
Tuesday, 2/11/2025
Surya and I met with Jeff, where we talked about our progress and shared the resources we had found so far. ITP Resident Jess Shen and professor Aidan Nelson also came by and discussed our project further. Aidan shared a resource on testing our lens model in Unity to spare us time and effort in CNC cutting a bad design. Thank you to them.
Then, Surya and I met with Ian in the Shop. Ian helped us perfect our measurements and corrected our thinking that we could use the CNC in an hour and be done. He said it would take us a day of setting up the machine, using the machine, getting the machine to cooperate, and cleaning.
Wednesday, 2/12/2025
I was in class all day, but Surya spent his whole day at the CNC machine with Ian. Together, Ian and Surya prepared the CNC machine, cut the acrylic, cleaned the machine, and successfully completed the jobs Phil set up in Fusion. Surya inhaled a lot of acrylic. Shoutout to Surya and Ian for their dedication and the effort they put in.
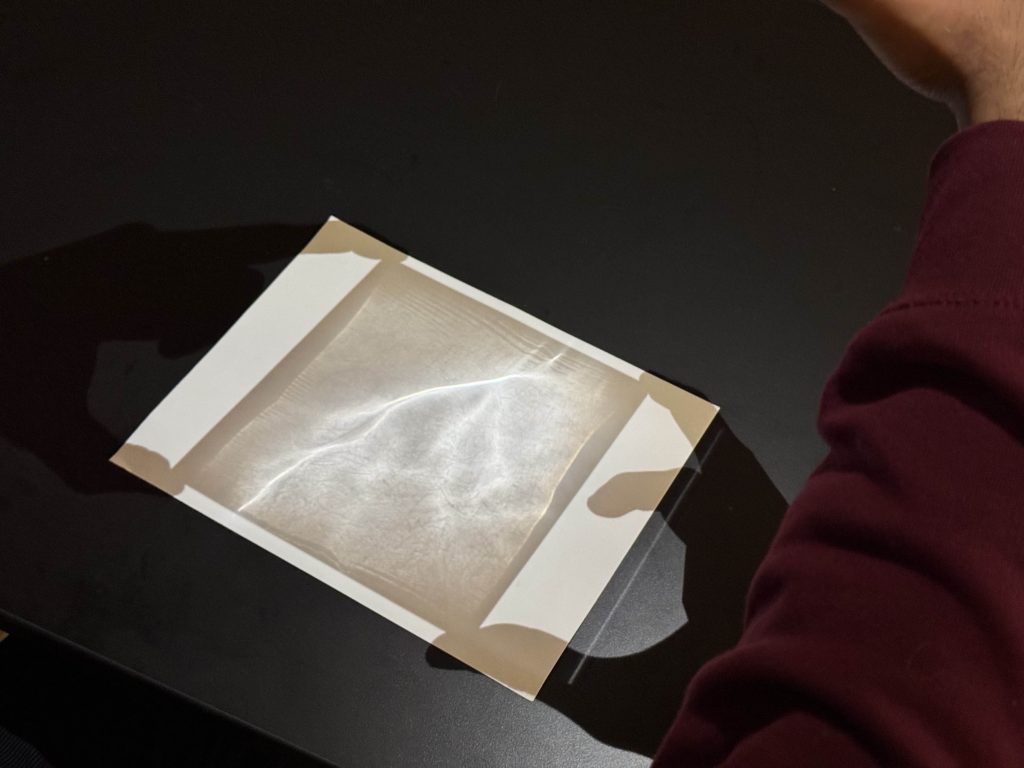
I joined them after my classes were done. Surya had started wet sanding the lens down, according to Matt Ferraro’s blog. We journeyed to Michaels for 1000 grit and 1500 grit sandpaper, which they did not have. Luckily, Ace Hardware had the right sandpaper.
We went back to the floor, and we both took turns sanding, running water over the lens in a sink, and sanding again. We did our sanding passes and then polished the lens with automotive polish. We were worried all this time, effort, and labor would result in failure to make a proper lens. However, that was not the case. We achieved the lens (somewhat).

Source Image
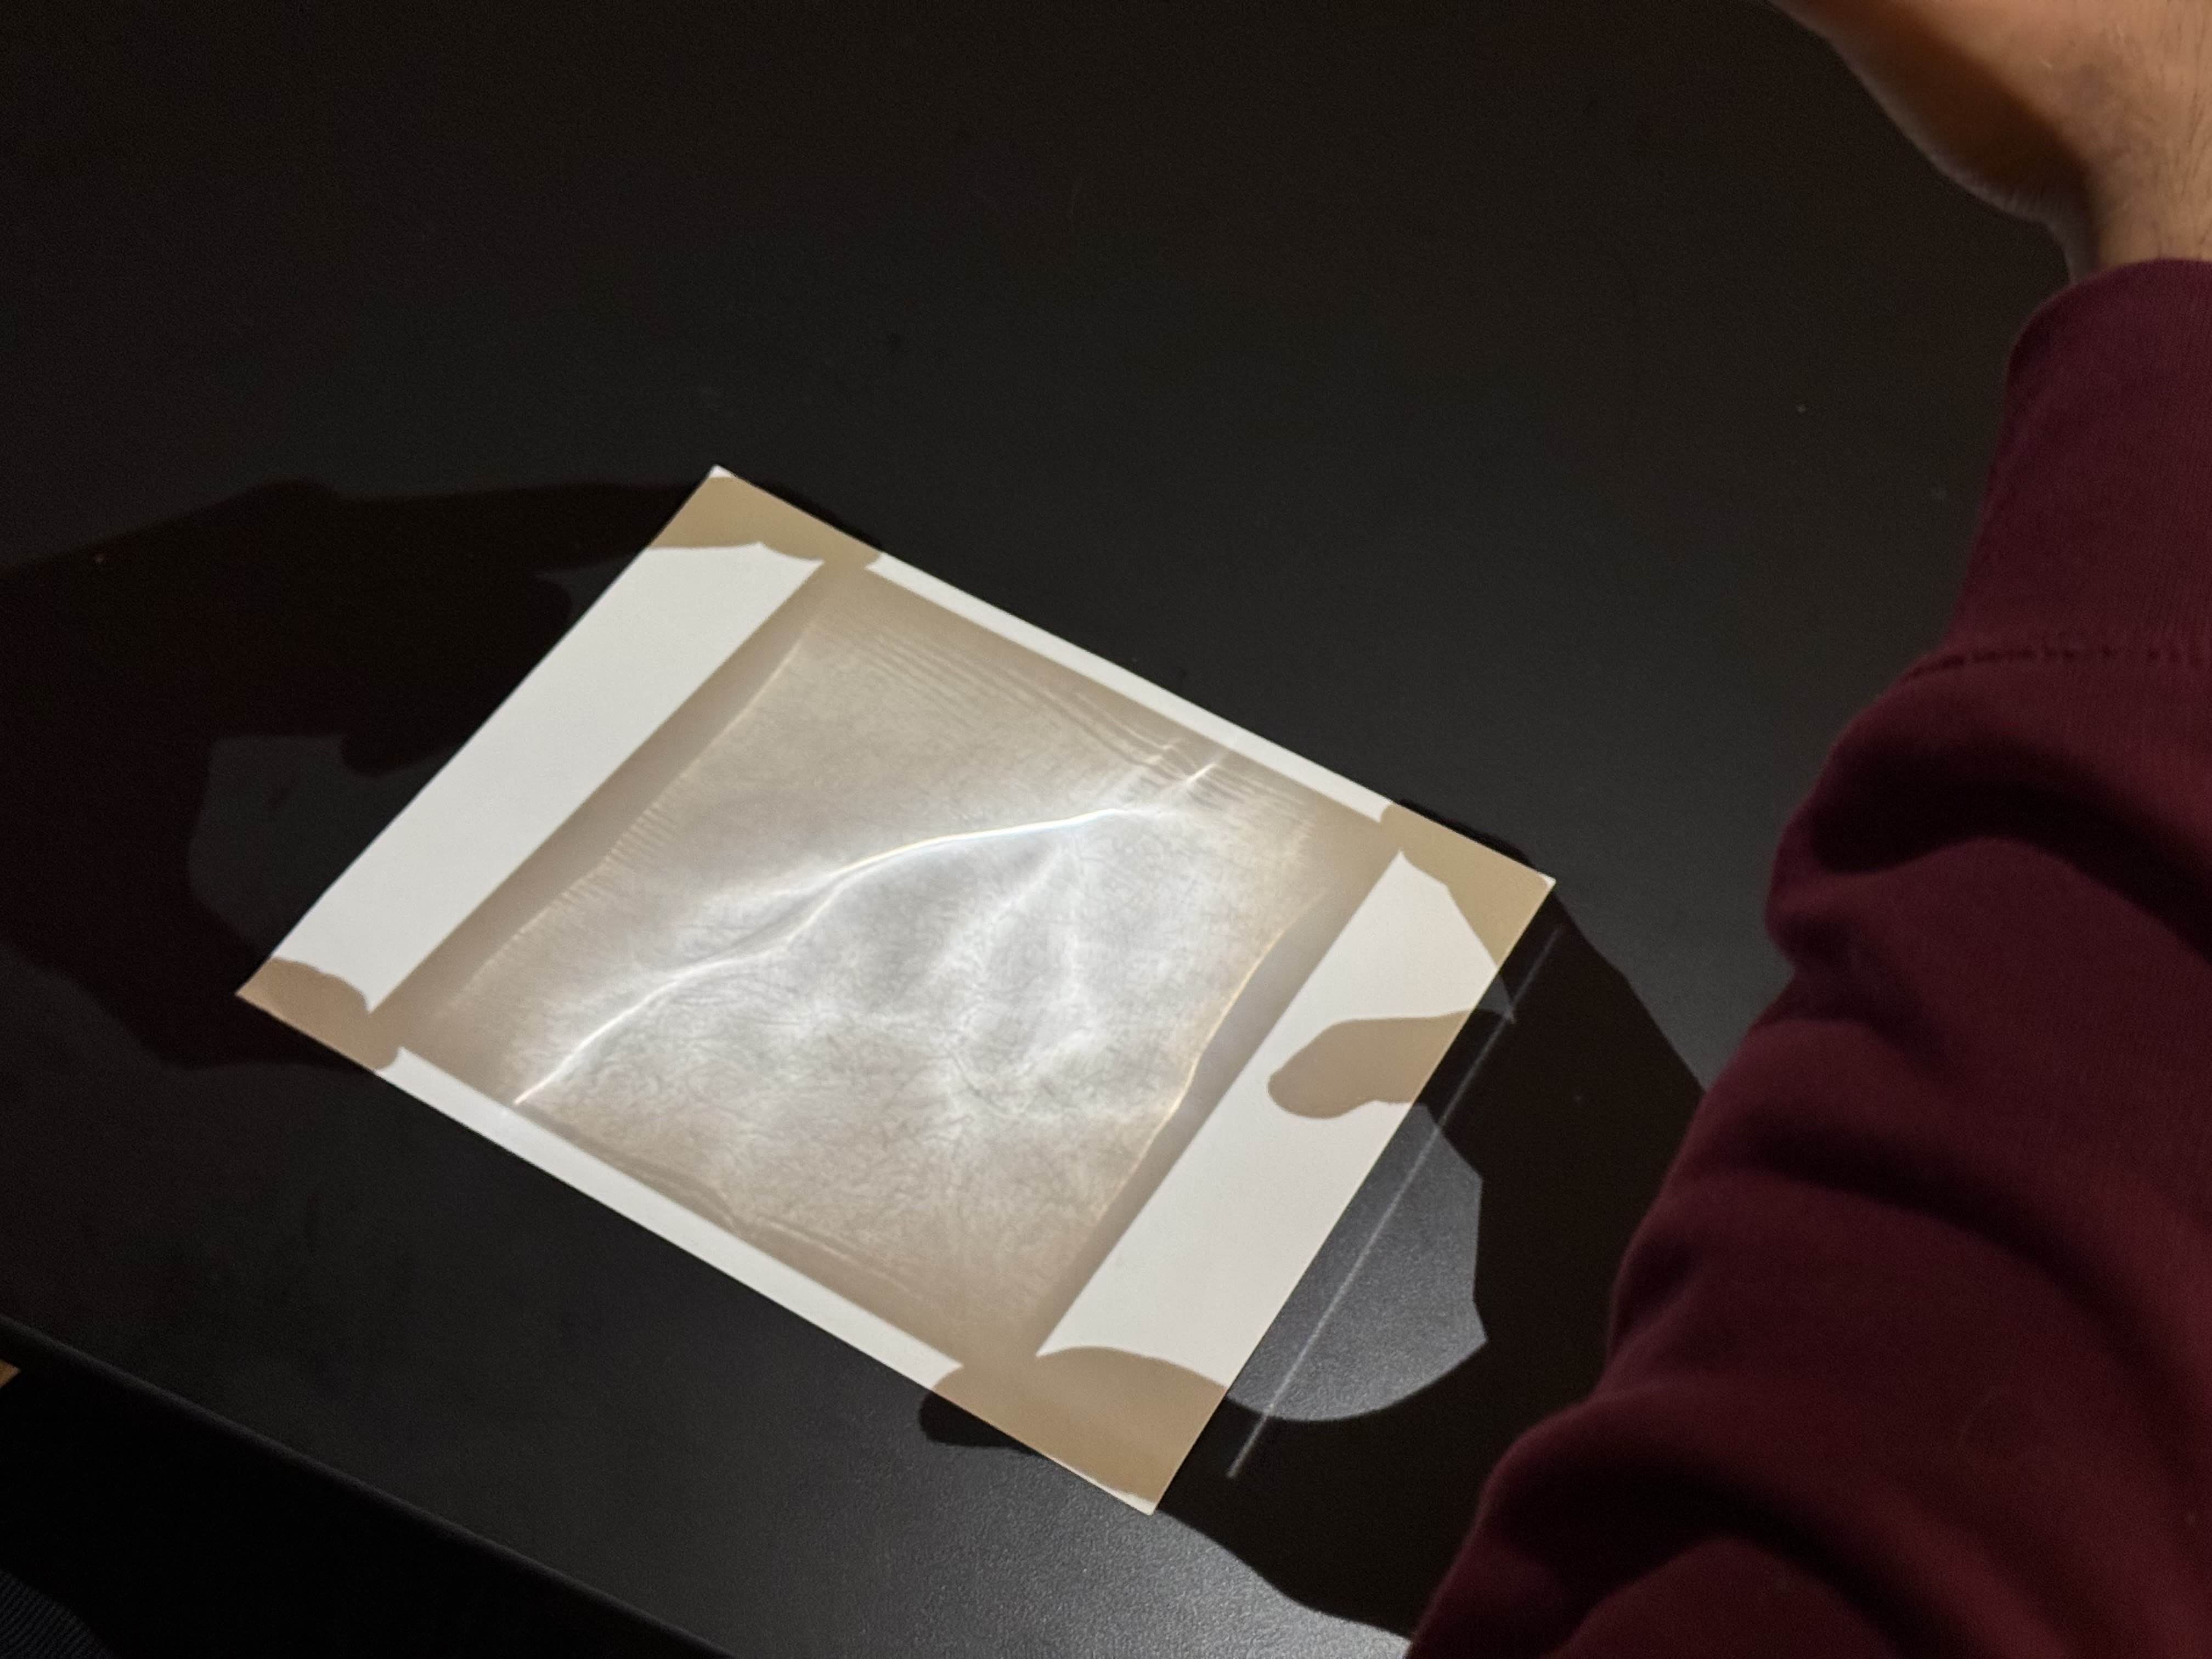
Our result. Our crazy project might work after all.
Now, we need to 3D print the hand crank. I tried doing this over this past week but the parts ended up being too small. I tried today, 2/13/2025, re-printing bigger parts so we’ll see how that goes.
We also need to hook up our generator to the handcrank and then place all our components in a box to produce a full prototype.

Leave a comment